What is MySQL?
The relational database management system MySQL is free and open-source. Combining "My"—the name of co-founder Michael Widenius's daughter My—and "SQL”—the acronym for structured query language—creates the name of the company. Effective data management and storage are made possible by the MySQL system. Data is often stored in databases in an organised way. It was tested using a number of compilers to look for errors and inconsistencies. It was written in C and C++.
The most reliable transactional database engine currently on the market is MySQL. It is the prefered option for total data integrity because to characteristics like fully atomic, consistent, isolated, persistent transaction support, multi-version transaction support, and unconstrained row-level locking. MySQL may be utilised in a networked setting and has a client-server design like the majority of database management systems out there. The database files are kept on the same physical or virtual system as the server application, which controls all communications with the databases.
Why MySQL So popular?
MySQL is indeed not the only (R)DBMS on the market, but it is one of the most popular ones and only second to Oracle Database when scored using critical parameters like the number of mentions in search results, professional profiles on LinkedIn, and frequency of technical discussions on internet forums. The fact that many major tech giants rely on it further solidifies the well-deserved position. Why so? Here are the reasons:
Flexible and easy to use
You can modify the source code to meet your own expectations, and don’t need to pay anything for this level of freedom, including the options for upgrading to the advanced commercial version. The installation process is relatively simple, and shouldn’t take longer than 30 minutes.
High performance
A wide array of cluster servers backs MySQL. Whether you are storing massive amounts of big e-Commerce data or doing heavy business intelligence activities, MySQL can assist you smoothly with optimum speed.
An industry standard
Industries have been using MySQL for years, which means that there are abundant resources for skilled developers. MySQL users can expect rapid development of the software and freelance experts willing to work for a smaller wage if they ever need them.
Secure
Your data should be your primary concern when choosing the right RDBMS software. With its Access Privilege System and User Account Management, MySQL sets the security bar high. Host-based verification and password encryption are both available.
How to download MySQL?
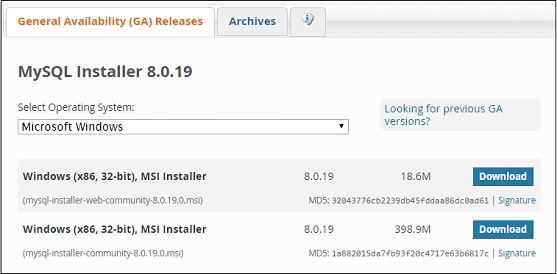
Step 1: Go to the official website of MySQL and download the community server edition software. Here, you will see the option to choose the Operating System, such as Windows.
Step 2: Next, there are two options available to download the setup. Choose the version number for the MySQL community server, which you want. If you have good internet connectivity, then choose the mysql-installer-web-community. Otherwise, choose the other one.
Installing MySQL on Windows
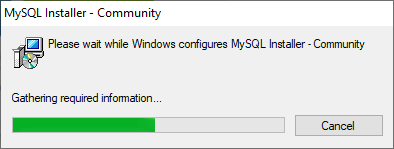
Step 1: After downloading the setup, unzip it anywhere and double click the MSI installer .exe file. It will give the following screen:
Step 2: In the next wizard, choose the Setup Type. There are several types available, and you need to choose the appropriate option to install MySQL product and features. Here, we are going to select the Full option and click on the Next button.
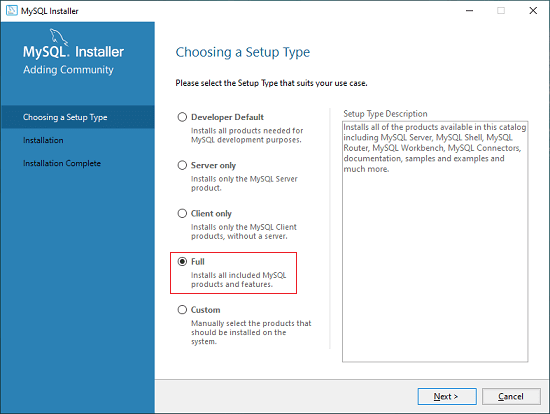
This option will install the following things: MySQL Server, MySQL Shell, MySQL Router, MySQL Workbench, MySQL Connectors, documentation, samples and examples, and many more.
Step 3: Once we click on the Next button, it may give information about some features that may fail to install on your system due to a lack of requirements. We can resolve them by clicking on the Execute button that will install all requirements automatically or can skip them. Now, click on the Next button.
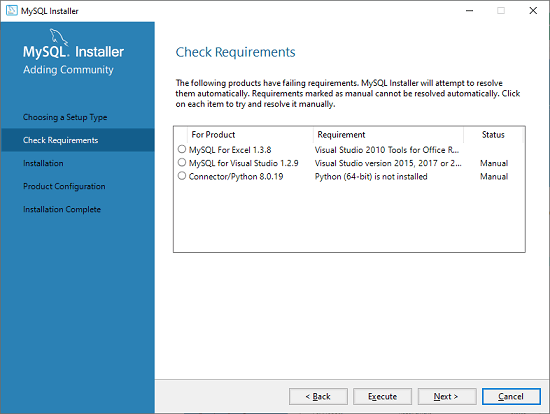
Step 4: In the next wizard, we will see a dialog box that asks for our confirmation of a few products not getting installed. Here, we have to click on the Yes button.
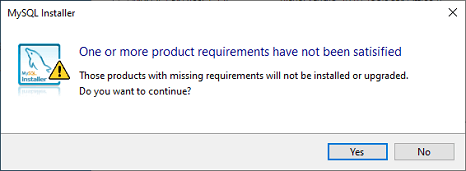
After clicking on the Yes button, we will see the list of the products which are going to be installed. So, if we need all products, click on the Execute button.
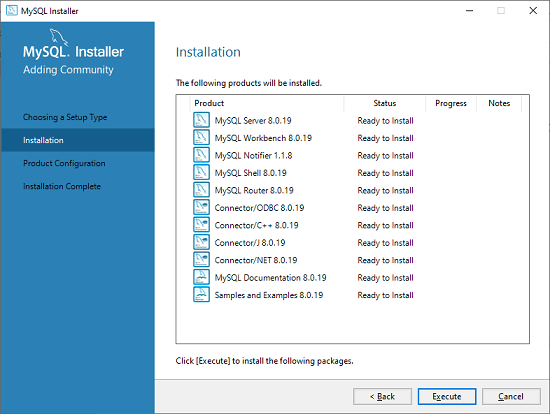
Step 5: Once we click on the Execute button, it will download and install all the products. After completing the installation, click on the Next button.
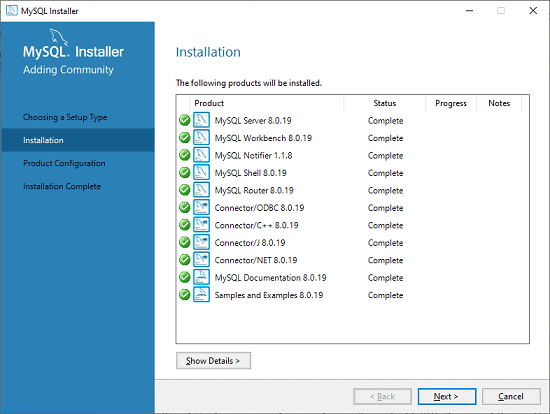
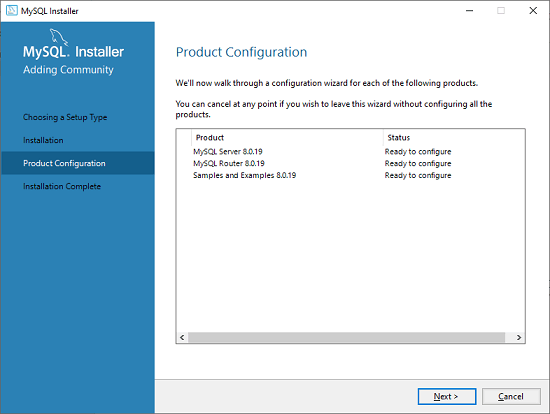
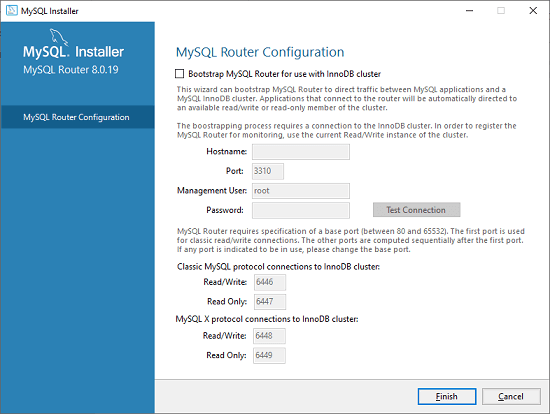
Step 6: In the next wizard, we need to configure the MySQL Server and Router. Here, I am not going to configure the Router because there is no need to use it with MySQL. We are going to show you how to configure the server only. Now, click on the Next button.
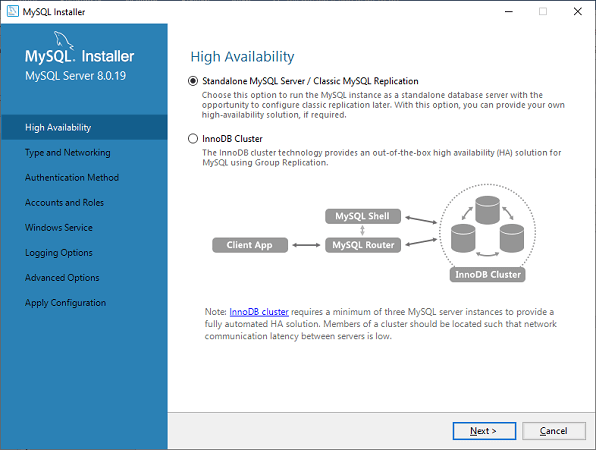
Step 7: As soon as you will click on the Next button, you can see the screen below. Here, we have to configure the MySQL Server. Now, choose the Standalone MySQL Server/Classic MySQL Replication option and click on Next. Here, you can also choose the InnoDB Cluster based on your needs.
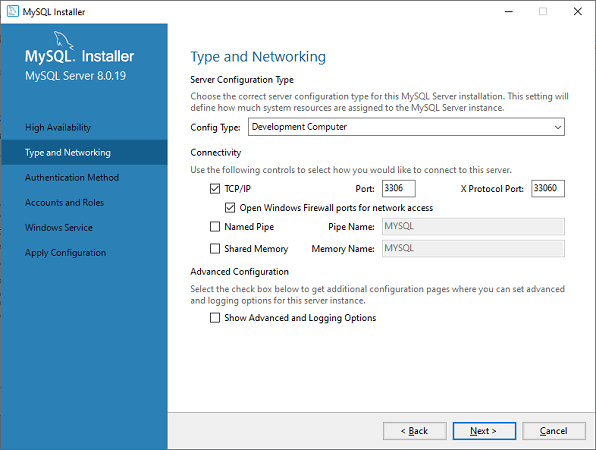
Step 8: In the next screen, the system will ask you to choose the Config Type and other connectivity options. Here, we are going to select the Config Type as 'Development Machine' and Connectivity as TCP/IP, and Port Number is 3306, then click on Next.
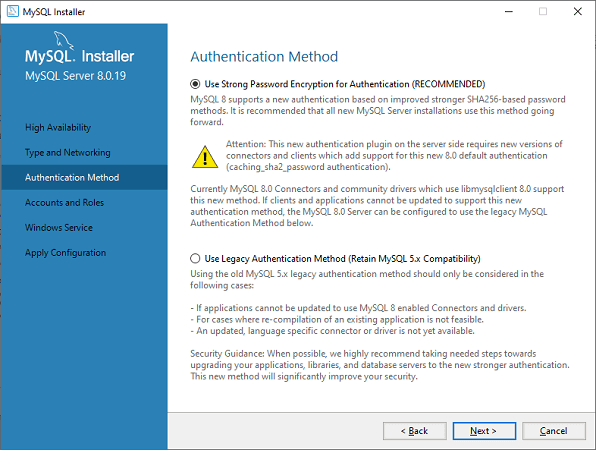
Step 9: Now, select the Authentication Method and click on Next. Here, I am going to select the first option.
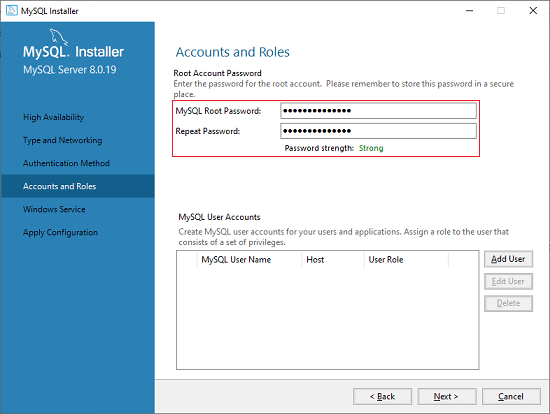
Step 10: The next screen will ask you to mention the MySQL Root Password. After filling the password details, click on the Next button.
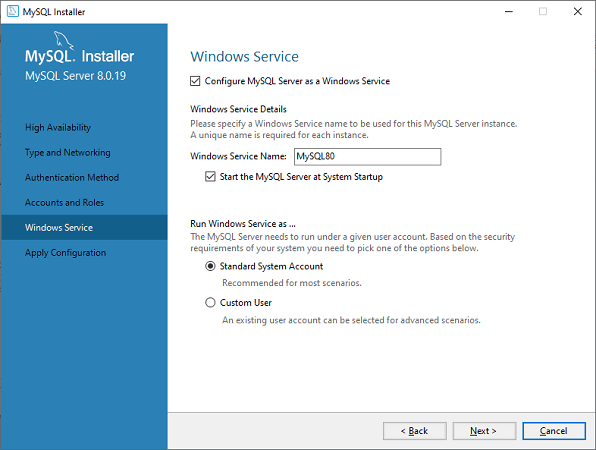
Step 11: The next screen will ask you to configure the Windows Service to start the server. Keep the default setup and click on the Next button.
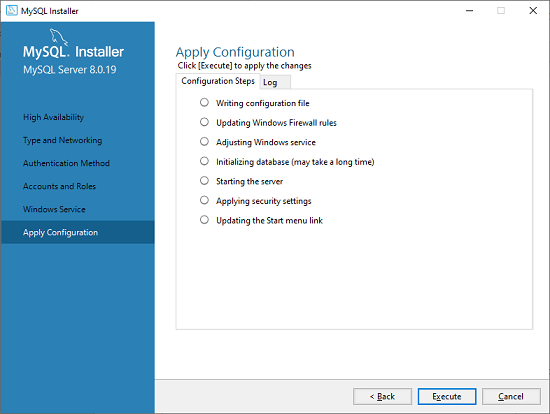
Step 12: In the next wizard, the system will ask you to apply the Server Configuration. If you agree with this configuration, click on the Execute button.
Step 13: Once the configuration has completed, you will get the screen below. Now, click on the Finish button to continue.
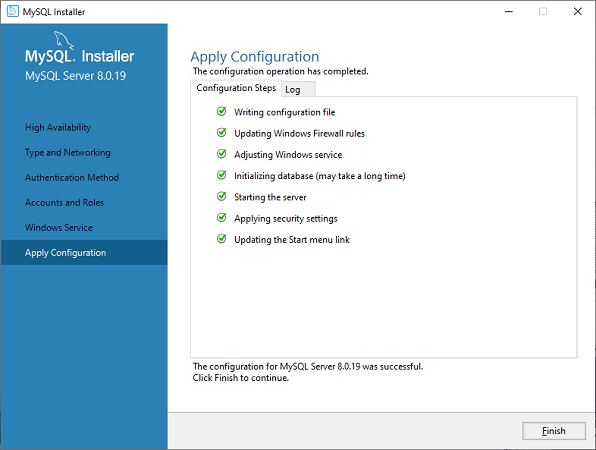
Step 14: In the next screen, you can see that the Product Configuration is completed. Keep the default setting and click on the Next-> Finish button to complete the MySQL package installation.
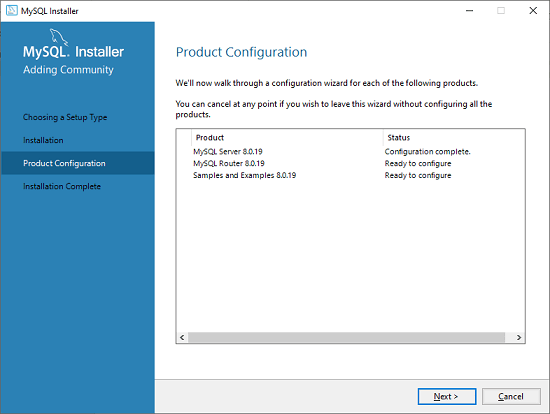
Step 15: In the next wizard, we can choose to configure the Router. So click on Next->Finish and then click the Next button.
Step 16: In the next wizard, we will see the Connect to Server option. Here, we have to mention the root password, which we had set in the previous steps.
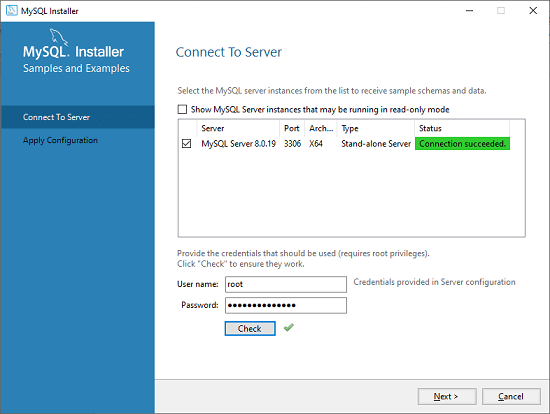
In this screen, it is also required to check about the connection is successful or not by clicking on the Check button. If the connection is successful, click on the Execute button. Now, the configuration is complete, click on Next.
Step 17: In the next wizard, select the applied configurations and click on the Execute button.
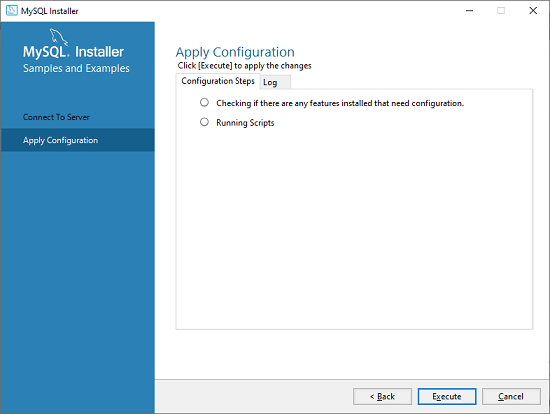
Step 18: After completing the above step, we will get the following screen. Here, click on the Finish button.
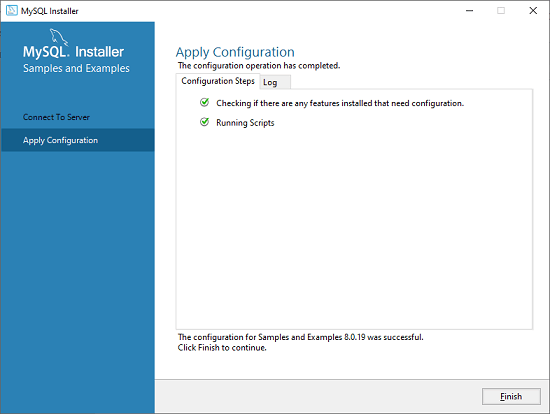
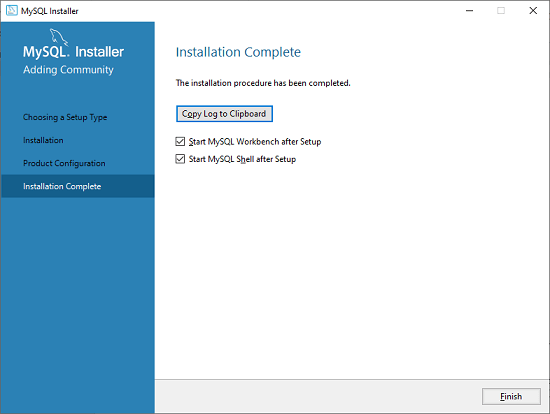
Step 19: Now, the MySQL installation is complete. Click on the Finish button.
Verify MySQL installation
Once MySQL has been successfully installed, the base tables have been initialized, and the server has been started, you can verify its working via some simple tests.
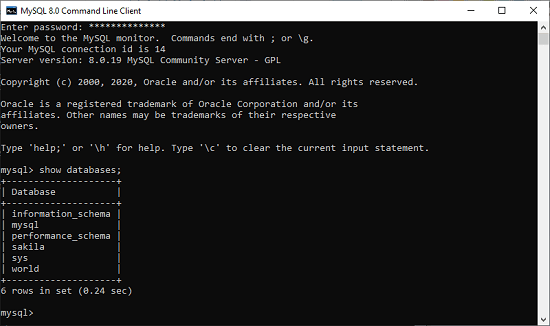
Open your MySQL Command Line Client; it should have appeared with a mysql> prompt. If you have set any password, write your password here. Now, you are connected to the MySQL server, and you can execute all the SQL command at mysql> prompt as follows:
For example: Check the already created databases with show databases command:
